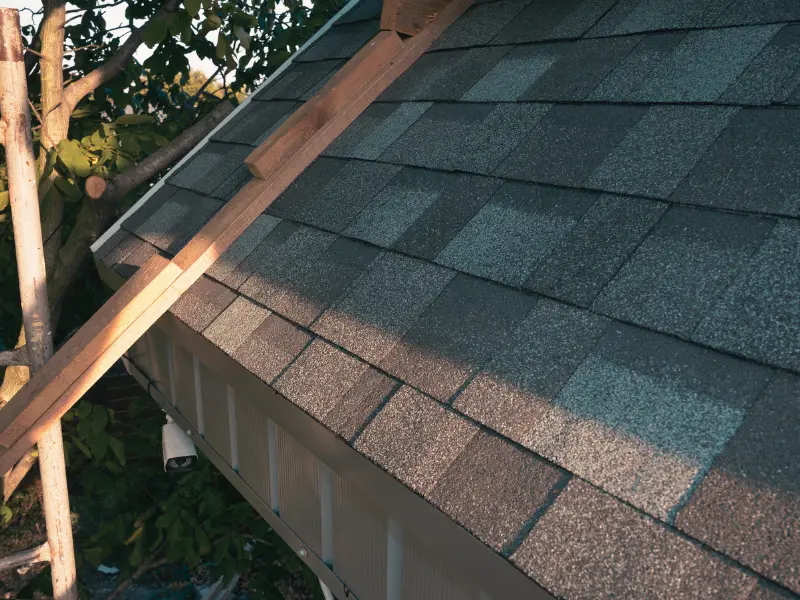
Bitumen flat roof repair is a topic most homeowners with a flat or low-slope roof research only after water has already found its way inside, by which point, the damage extends well beyond the roof surface itself. Bitumen roofing systems are among the most widely installed flat-roof solutions on residential and commercial properties across North America. Still, they require specific repair methods, materials, and timing that differ significantly from those for pitched shingle roofs.
Understanding how bitumen roofs fail, what repair options exist, and when a repair is no longer enough can save thousands in avoidable interior damage and premature full replacement costs. This guide covers everything you need to know.
What is Bitumen Flat Roof Repair? (The Simple Definition)
Bitumen flat roof repair is the process of identifying and fixing damage to a modified bitumen or built-up bitumen roofing membrane to restore its waterproof integrity. Bitumen roofing systems consist of layers of asphalt-saturated felt or fiberglass mat combined with bitumen. This petroleum-derived waterproofing compound is either torch-applied, cold-adhesive-applied, or self-adhered to a flat or low-slope roof deck.
Repair involves locating the source of water intrusion, cutting back or lifting the damaged membrane, applying compatible patching material, and sealing the perimeter of the repair to restore a continuous waterproof surface.
Bitumen Roof System Types and Repair Compatibility
| System Type | Application Method | Repair Method | Complexity |
|---|---|---|---|
| Modified bitumen (torch-applied) | Heat-welded to the substrate | Torch patch or cold-applied cap sheet | Moderate |
| Modified bitumen (self-adhered) | Peel-and-stick membrane | Self-adhered patch with primer | Low to moderate |
| Built-up roofing (BUR) | Multiple hot-mopped layers | Hot asphalt or cold process patch | High |
| Modified bitumen (cold-applied) | Adhesive-bonded layers | Cold adhesive patch with cap sheet | Moderate |
| Hybrid bitumen system | Combination of methods | Matched to existing layer type | High |
Identifying the type of bitumen system installed on your roof before purchasing repair materials is essential. Using torch-applied patches on a self-adhered system or cold-process materials on a torch-applied membrane creates incompatible bonds that fail quickly under thermal cycling and ponding water.
Why Bitumen Flat Roof Repair Matters (The Real Cost Breakdown)
The Price of Delayed Repair
| Damage Scenario | Repair Cost | Replacement or Remediation Cost |
|---|---|---|
| Small membrane blister (under 12 inches) | $150 to $400 | $8,000 to $18,000 full replacement |
| Open seam or lap joint failure | $200 to $600 | $5,000 to $12,000 deck repair plus replacement |
| Flashing separation at the parapet wall | $300 to $700 | $4,000 to $10,000 interior water damage repair |
| Ponding water damage to the membrane | $500 to $1,500 | $6,000 to $20,000 structural deck repair |
| Multiple blisters across the full field | $1,500 to $4,000 | $10,000 to $25,000 full system replacement |
A single unrepaired blister or open seam on a bitumen flat roof costs almost nothing to fix in its early stage and thousands to address once water has reached the deck, insulation, or interior ceiling below. Early intervention is the single most cost-effective action available to any flat roof owner.
The Hidden Cost of Ponding Water
Flat roofs are designed to drain within 48 hours of a rain event. Water that remains for more than 48 hours is called ponding water, and it accelerates bitumen membrane degradation more than any other single factor. A membrane in good condition under normal conditions may last 20 to 25 years, while the same membrane under chronic ponding water conditions may fail in 8 to 12 years. Addressing drainage alongside membrane repair is not optional on a flat roof. It is part of the repair itself.
Types of Bitumen Flat Roof Damage: Know Your Repair First
Different types of bitumen roof damage require different repair approaches, and misidentifying the type of damage leads to repairs that address the symptom rather than the cause. Blistering is one of the most common forms of bitumen roof damage and appears as raised bubbles beneath the membrane surface caused by trapped air or moisture between layers. Small blisters under 12 inches that are not cracked or open can sometimes be left monitored, while larger or open blisters must be cut, dried, and patched to prevent water infiltration.
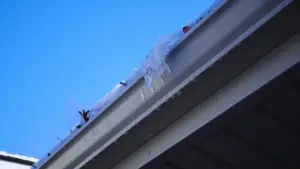
Seam and lap joint failures occur where two sections of bitumen membrane overlap and the bond between them has weakened or separated. Seam failures are the most frequent source of active leaks on modified bitumen roofs because water tracks horizontally under the lifted edge before dripping through the deck at a point far from the visible separation. Flashing failures at parapet walls, roof edges, drains, and penetrations such as HVAC curbs and pipe boots are responsible for most flat roof leaks.
Bitumen flashing is subject to thermal expansion and contraction, which gradually pulls it away from vertical surfaces, creating gaps that channel water directly to the deck edge or penetration point.
Alligatoring is a pattern of surface cracking that resembles reptile skin and indicates that the top surface of the bitumen membrane has oxidized and lost its flexibility. Alligatoring across a large area of the roof field is a sign that the membrane is near the end of its serviceable life and that spot repairs will be temporary at best. Punctures and mechanical damage from foot traffic, fallen debris, or HVAC service work create direct openings through the membrane.
These are among the easiest damage types to repair when caught early, but they quickly become serious leak sources because water enters through a defined hole rather than through a gradual seam failure.
Bitumen Flat Roof Repair: Step-by-Step Process
A proper bitumen flat roof repair follows a sequence that ensures the patch bonds correctly, and the repaired area performs as well as the surrounding membrane.
Step 1: Locate the actual source of the leak. Water on a flat roof travels horizontally before dropping through the deck, meaning the visible interior stain is rarely directly below the entry point. Begin by inspecting all flashings, seams, and penetrations within 10 feet of the stain location before assuming the leak source is directly above the damage.
Step 2: Dry the repair area completely. Bitumen patches will not bond to wet surfaces. The damaged area must be fully dry before any repair material is applied. In humid climates or after recent rain, this may require 24 to 48 hours of drying time or the application of a roofing torch to drive moisture from the substrate.
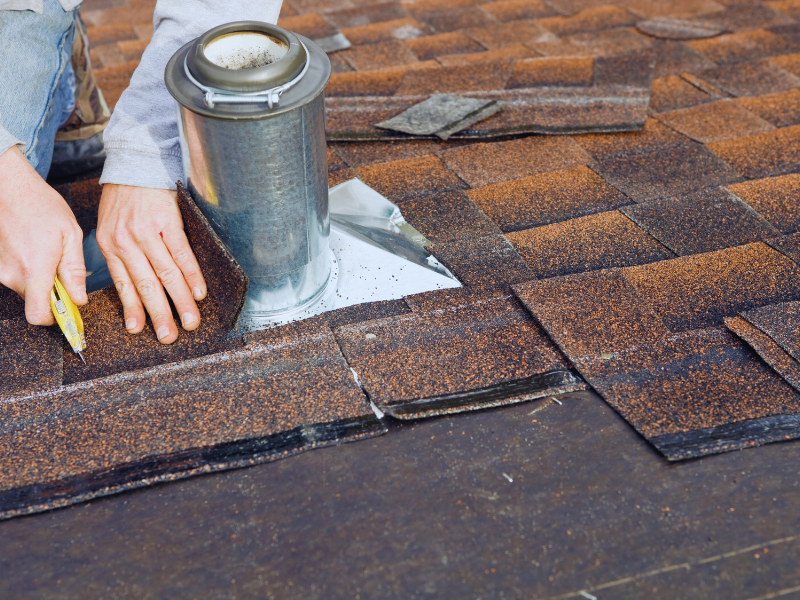
Step 3: Cut out or lift the damaged membrane. For blisters, make two relief cuts in an X pattern across the blister, fold back the four flaps, dry the substrate beneath, and apply roofing cement before pressing the flaps back down. For open seams or punctures, cut back the damaged area to clean, firmly adhered membrane on all sides.
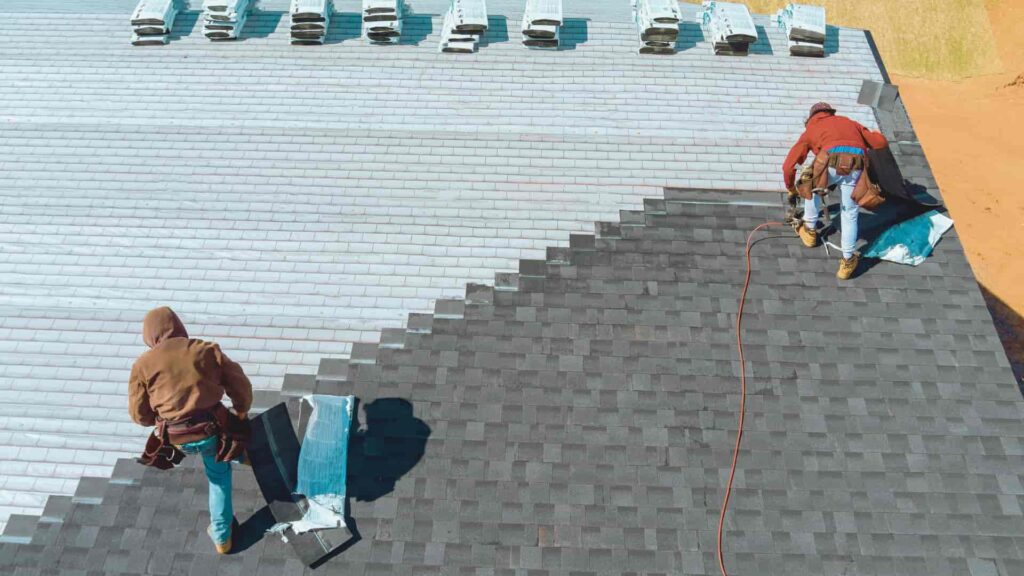
Step 4: Apply a compatible patch material. Cut a patch from matching bitumen cap sheet material at least 6 inches larger than the damaged area on all sides. For torch-applied systems, heat the underside of the patch and the repair area before pressing firmly. For cold-applied systems, apply primer to both surfaces, allow it to tack, and press the patch firmly into place.
Step 5: Seal all patch edges. Apply a bead of roofing mastic or lap sealant around the full perimeter of the patch, feathering it outward onto the existing membrane. This edge seal is the most critical detail of the repair and the most frequently skipped step in DIY attempts.
Step 6: Inspect drainage and address any ponding. After completing the patch, confirm that drains and scuppers are clear and that water drains freely from the repair area. If ponding persists after drainage cleaning, a tapered insulation repair or drain relocation may be required.
Repair Time and Cost Reference
| Repair Type | Estimated Time | Material Cost | Professional Labor Cost |
|---|---|---|---|
| Single blister patch | 1 to 2 hours | $30 to $80 | $150 to $400 |
| Seam re-adhesion (per linear foot) | 30 to 60 minutes | $20 to $50 | $100 to $300 |
| Flashing replacement (per penetration) | 2 to 4 hours | $50 to $150 | $300 to $700 |
| Large field repair (over 50 sq ft) | 4 to 8 hours | $200 to $600 | $800 to $2,500 |
| Full cap sheet overlay (per square) | 1 to 2 days | $150 to $400 | $500 to $1,200 |
Common Bitumen Flat Roof Repair Mistakes to Avoid
Repairing the visible damage without tracing the water to its actual entry point is the most common and costly mistake in flat roof repair. Because water travels horizontally on flat roofs before dropping through the deck, patching the area directly above an interior stain without identifying the true source of entry results in a repair that addresses the wrong location entirely. The leak continues, and the interior damage worsens, even though the homeowner believes the problem has been solved.
Using incompatible patch materials is a repair failure that appears successful for weeks or months before delaminating. Torch-applied bitumen, cold-applied bitumen, and EPDM or TPO materials are not interchangeable. Patching a torch-applied modified bitumen membrane with a cold-applied self-adhered product will bond initially but separate under the first significant thermal cycling event. Always match the patch material to the existing membrane type and application method.
Skipping the primer step on cold-applied repairs is a shortcut that eliminates the chemical bond between the patch and the existing membrane. Bitumen primers prepare the surface for adhesion and are required, even when the patch material appears to be sticking without them.
Patching over a membrane that has reached the end of its service life adds cost without extending its service life. A roof with widespread alligatoring, multiple failed seams, and chronic ponding damage is past the point where individual patches deliver a reliable return. Investing repair dollars in a membrane that needs full replacement extends the problem rather than solving it. Neglecting to seal patch edges completely leaves the most vulnerable point of any repair open to water infiltration.
Water wicks under unsealed patch edges through capillary action, and an unsealed bitumen patch perimeter will begin to lift within one to two seasons, regardless of how well the center of the patch adhered.
Bitumen Flat Roof Performance Benchmarks by Age
The age of a bitumen roof system determines the realistic scope of repair options and the point at which replacement becomes more economical than continued patching. Roofs 0 to 5 years old that develop leaks are most likely experiencing installation defects rather than material wear. Improperly torched seams, inadequate flashing details, and missed penetration seals are typical culprits at this stage, and repair is straightforward because the surrounding membrane is still fully functional.
Between 5 and 10 years, surface granule loss on modified bitumen cap sheets accelerates UV degradation of the exposed bitumen compound. Pre-season inspections at this stage should include a granule coverage assessment and proactive resealing of any flashing that shows early separation. After 10 to 15 years, seam adhesion failures become more common as the bitumen compound hardens and loses flexibility due to thermal cycling. Lap joints that have been performing adequately may begin to show edge lifting, and proactive re-adhesion of suspect seams is less expensive than waiting for active leaks to develop.
Between 15 and 20 years, widespread alligatoring, multiple seam failures, and thinning of the cap sheet surface layer are common findings on inspected roofs in this age range. Repair remains appropriate for isolated damage, but a replacement timeline should be established during this period rather than after the next significant rain event. Over the past 20 years, full replacement has been the industry standard recommendation for bitumen flat roof systems, regardless of the apparent surface condition.
The underlying layers, drainage components, and flashings have all degraded to the point that a new membrane installation on a properly prepared deck is more reliable and cost-effective than continued repair cycles on an aged system.
Technology Tools Homeowners Can Use
Modern tools make bitumen flat roof assessment more accurate and more reliably documented than visual inspection alone. Infrared thermography cameras detect moisture trapped within the roof assembly by identifying temperature differentials between wet and dry insulation layers, allowing inspectors to map the full extent of water infiltration without cutting into the membrane across the entire roof surface.
Nuclear moisture meters provide a non-destructive measurement of moisture content within the roof assembly at specific test points, confirming whether a long-standing leak has saturated insulation beneath the membrane.
Drone inspection services provide high-resolution aerial photography of the entire roof surface, identifying ponding areas, surface cracking patterns, blister locations, and flashing separations on roofs that may be difficult to walk safely. Drainage flow simulation software used by roofing engineers calculates the drainage performance of a flat roof based on its dimensions, slope, and drain locations, identifying chronic ponding zones before a new membrane is installed so drainage corrections can be incorporated into the replacement plan.
Digital roof-condition reporting apps used by licensed inspectors produce photo-documented condition reports with GPS-tagged damage locations that serve as a reliable baseline for insurance claims and future repair planning.
DIY Repair vs. Professional Repair: Know the Difference
Homeowners with basic roofing experience can safely perform small blister repairs under 12 inches, reseal minor flashing edges showing early separation, and clear roof drains and scuppers of debris. These tasks use commercially available cold-process bitumen repair products that do not require torch equipment or specialized training and can extend the life of a repair that would otherwise develop into an active leak.
However, torch-applied patching, full seam re-adhesion across multiple sections, flashing replacement at parapet walls and penetrations, large field repairs over 50 square feet, and any repair requiring assessment of the deck condition beneath the membrane should be performed by a licensed commercial roofing contractor. Torch work on a flat roof, in particular, carries a significant fire risk when performed by an untrained operator, as the heat required to properly weld bitumen patches is sufficient to ignite combustible materials in the roof assembly if applied incorrectly.
Seek immediate professional attention if the interior ceiling below the flat roof shows active dripping during or after rain, if the roof deck feels soft or spongy underfoot during inspection, or if multiple blisters and seam failures are present across more than 25 percent of the roof surface. These are indicators that the damage has progressed beyond the scope of the initial assessment; a full roof assessment and likely replacement planning are needed before the next rain season begins.
Final Thoughts
Bitumen flat roof repair is most effective and least expensive when performed on small, isolated areas of damage before water reaches the deck and interior below. A 30-minute annual inspection covering all seams, flashings, drains, and the membrane surface costs nothing but time and can identify every repairable condition before it becomes a replacement-driving catastrophe. Flat roofs reward proactive owners and penalize neglectful ones with a consistency that makes early action the single clearest financial decision in residential roofing maintenance.
FAQs
1. What is bitumen flat roof repair, and when is it needed?
A: It restores waterproofing to a damaged bitumen membrane. Repair is needed when blisters, open seams, gaps in flashing, or punctures are found.
2. How long does a bitumen flat roof repair last?
A: A properly completed patch on a membrane in good overall condition lasts 5 to 10 years. Repairs on aged or alligatored membranes last significantly less.
3. Can I repair a bitumen flat roof myself?
A: Small cold-process blister patches and minor flashing resealing are manageable DIY tasks. Torch-applied repairs and large field patches require a licensed contractor.
Q: How do I find the source of a flat roof leak?
A: Inspect all seams, flashings, and penetrations within 10 feet of the interior stain. Water travels horizontally before dropping, so the entry point is rarely directly above the damage.
Q: When should I replace instead of repairing a bitumen flat roof?
A: Replace when alligatoring covers large areas, multiple seams are failing, or the roof is past 20 years. Continued patching past this point costs more than replacement.