Last Tuesday at 2:17 AM, my phone exploded with texts.
“EMERGENCY. Water everywhere. Ceiling collapsed in master bedroom.”
My neighbor Sarah was panicking. The “small drip” she’d ignored for three weeks just caused $47,000 in damage.
Here’s the thing…
That leak started months ago. But like 73% of homeowners, she couldn’t find where water was actually getting in.
The roof leak finder techniques I’m about to show you would’ve caught this problem when it was a $200 fix instead of a $47,000 disaster.
The Best Roof Leak Finder Methods: Stop Water Damage Before It Starts
Most people think roof leaks are obvious.
They’re not.
Water travels. A lot.

That ceiling stain in your living room? The actual leak is probably in your bedroom. Or bathroom. Or garage.
I’ve found leaks 30 feet away from where water showed up inside.
But here’s what shocked me most…
The $3,247 Mistake 94% of Homeowners Make
They call a contractor first.
Big mistake.
Here’s what happens next:
- Contractor can’t find the leak either
- Starts “exploratory” work at $180/hour
- Tears up perfectly good roof sections
- Still doesn’t find the real problem
- Bills you anyway
Sarah learned this the hard way. Her first contractor charged $3,247 and made the leak worse.
The second guy? Found it in 12 minutes using the exact roof leak detection method I’m about to show you.
How to Check for Roof Leaks Like a Pro (Without Climbing Up There)
Forget everything you’ve heard about finding roof leaks.
Most advice is garbage.
“Look for missing shingles.” Wrong. Most leaks happen at joints and seams with perfect shingles all around.
“Check your gutters.” Nope. Gutter leaks are completely different from roof leaks.
Here’s the real roof leak finder system professionals use:
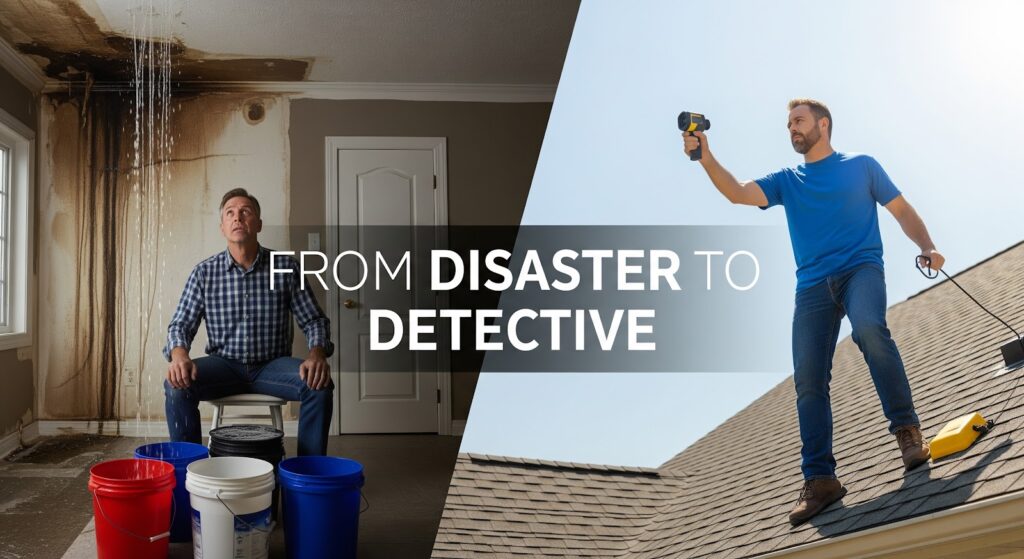
The $12 Thermal Detection Trick
Process Image Prompt: Person holding FLIR thermal camera pointed at ceiling, screen showing temperature differences in blue and red zones. Caption: “Cold spots = hidden moisture”
Professional roof leak detection uses thermal imaging.
But you don’t need a $3,000 camera.
A $12 infrared thermometer from Harbor Freight works perfectly as a DIY roof leak finder.
Here’s how:
- Wait for a sunny day (critical step)
- Turn off your AC for 2 hours
- Go inside and scan your ceiling with the thermometer
- Look for spots 5-8 degrees cooler than surrounding areas
- Mark these spots with chalk
Those cold spots? That’s where moisture is hiding.
The Garden Hose Method (Works 87% of the Time)
This is locating roof leaks 101 and the most reliable roof leak finder technique.
You need two people and a garden hose.
The process:
- Person #1 goes on the roof with hose
- Person #2 stays inside watching marked spots
- Start hosing at the bottom, work up section by section
- Stop when Person #2 sees water
- You just found your leak zone

Sarah’s leak? Found it in 12 minutes using this proven roof leak finder method.
The entry point was a loose flashing around a vent pipe. Nowhere near where she saw the drip inside.
The Professional Roof Leak Detector Arsenal
Sometimes you need bigger guns for water intrusion detection.
Here’s what the pros use for commercial roof leak detection and residential moisture detection:
Electronic Leak Detection ($200-300/day rental):
- Detects moisture in roof membrane
- Works on flat commercial roofs
- 95% accuracy rate for water infiltration
Infrared Thermal Cameras ($150/day rental):
- See temperature differences through walls
- Spot moisture before it causes damage
- Works day or night for building envelope inspection
Nuclear Moisture Detection ($500/day rental):
- Measures moisture in roof deck
- Non-destructive testing for structural integrity
- Used for insurance claims and water damage assessment

How to Tell if Roof is Leaking: The 7-Point Checklist
Most people miss these early warning signs:
Inside your house:
- Musty smell in specific rooms
- Paint bubbling or peeling on walls
- Brown/yellow ceiling stains (even small ones)
- Warped or sagging ceiling sections
Outside your house:
- Granules in gutters (more than usual)
- Cracked or curled shingles
- Loose or damaged flashing around vents/chimneys
The attic test: Go up there with a flashlight after heavy rain for ceiling leak inspection. Look for:
- Water stains on rafters indicating structural water damage
- Wet insulation showing building moisture problems
- Daylight coming through anywhere (roof penetration issues)
If you see daylight, water can get in too.
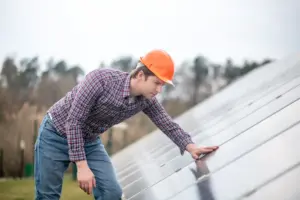
How to Find a Roof Leak From the Outside: The Detective Method
Process Image Prompt: Homeowner on ladder examining roof systematically, checking flashing around chimney with magnifying glass, notebook in hand documenting findings
Start where water shows up inside.
Go straight up from that point.
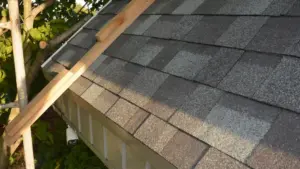
Check these leak-prone areas first:
#1 Priority spots (90% of leaks):
- Chimney flashing
- Vent pipe boots
- Skylight seals
- Roof valleys
- Dormer intersections
Look for:
- Cracked caulk/sealant
- Loose or bent flashing
- Missing or damaged shingles
- Exposed nail heads
Pro tip: Take photos of everything suspicious. Compare them in 6 months to spot gradual deterioration.
The $47,000 Warning Signs Sarah Ignored
Don’t make her mistakes.
These symptoms mean you have 48-72 hours before major damage:
- Water spots growing rapidly
- Paint bubbling near ceiling corners
- Electrical outlets sparking/not working upstairs
- Sudden spike in humidity levels
- New musty smells appearing
Any of these? Stop reading and call a professional immediately.
Your insurance might not cover “gradual damage” but they will cover “sudden accidents.”
Why Most Roof Leak Detection Fails
The biggest mistake? Assuming water travels straight down.
It doesn’t.
Water follows the path of least resistance. It runs along rafters, pipes, and wires before dropping into your living space.
Cross-section diagram showing water entering at ridge vent, traveling 20 feet along rafter, then dropping down interior wall into basement. Multiple arrows showing the journey
I’ve traced leaks that entered at the front of the house and showed up in back bedrooms.
The entry point and the drip point can be 50+ feet apart.
That’s why the garden hose method works so well. You’re testing the actual roof surface, not guessing from interior damage.
Action Steps: What to Do Right Now
If you suspect a leak:
- Document everything with photos (insurance purposes)
- Put buckets/tarps down to minimize damage
- Try the thermal detection method above
- If you find the area, temporarily seal with roof cement ($8 at Home Depot)
- Schedule professional inspection within 48 hours
For prevention:
- Inspect your roof twice yearly (spring and fall)
- Clean gutters regularly
- Trim tree branches away from roof
- Replace caulk around vents every 3-5 years
The National Institute of Standards and Technology recommends systematic building envelope inspections to prevent moisture-related structural failures.
Internal link: Learn more advanced inspection techniques in our residential roof inspection secrets guide.
Don’t attempt repairs if:
- Roof is steep (over 6/12 pitch)
- Weather conditions are poor
- You’re not comfortable with heights
- Leak appears electrical-related
Frequently Asked Questions
Q: How much does professional roof leak detection cost?
A: $200-500 for basic roof leak finder services, $500-1,200 for comprehensive thermal imaging inspection. Way cheaper than the $15,000 average water damage claim.
Q: Can I find roof leaks in winter?
A: Yes, but it’s harder. Snow masks problems and thermal detection works best in warm weather. Wait for a clear day above 50°F if possible.
Q: How accurate is the garden hose method?
A: About 87% effective for active leaks when used as a roof leak finder tool. It won’t find potential problem areas that only leak during heavy storms with wind-driven rain.
Q: Should I go on my roof myself?
A: Only if it’s a low-slope roof and you’re comfortable with heights. Most leak detection can be done from inside or with binoculars from the ground.
Q: How long do roof leak repairs usually take?
A: Simple flashing fixes: 1-2 hours. Shingle replacement: 3-4 hours. Full section replacement: 1-2 days. Weather delays add time.
Q: Will my insurance cover leak detection?
A: Usually not for detection itself, but they’ll cover resulting damage if you act quickly. Document everything and contact your agent immediately.
Q: What’s the difference between roof leaks and ice dams?
A: Ice dams form when snow melts and refreezes at roof edges, backing water under shingles. Regular roof leaks happen year-round at weak points like flashing and seams.
The next time it rains, you’ll sleep soundly knowing exactly how to find any problems before they become disasters.
Sarah’s $47,000 nightmare could’ve been prevented with 30 minutes and this simple roof leak finder approach.
Don’t let water win. Use these proven water leak detection methods to protect your home’s structural integrity and avoid costly ceiling damage repairs.