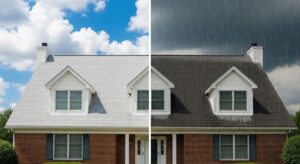
Metal roofing is a durable, low-maintenance solution for homeowners and builders alike. But understanding the proper installation techniques can make all the difference. One of the most important aspects to get right is how to lap metal roofing, especially when it comes to the overlap measurements. It’s not just about aesthetics—it impacts the roof’s durability and functionality.
Whether you’re a DIYer or a pro roofer, knowing how wide is metal roofing after overlap and how much to overlap metal roofing is key to ensuring a strong, leak-resistant roof. In this guide, we’ll dive deep into everything you need to know about metal roofing overlap, and how to do it like a pro.
What is Metal Roofing Overlap?
Before we dive into specifics, let’s define what we mean by “overlap.” In metal roofing, an overlap refers to the horizontal placement of one metal panel over another, with the goal of creating a waterproof barrier. The amount of overlap varies based on the type of metal roofing panels, climate conditions, and local building codes.
How Much to Overlap Metal Roofing?
The general rule of thumb for metal roofing overlap is 2 to 4 inches. However, there’s a bit more to the equation depending on the metal panel profile, pitch of the roof, and environmental factors. Let’s break this down further:
Roof pitch: The steeper the roof, the less overlap is needed.
Panel type: Standing seam metal roofs typically require less overlap than corrugated or ribbed metal panels.
Weather considerations: For homes in areas with heavy rainfall or snow, a larger overlap may be necessary to prevent water infiltration.
How Wide is Metal Roofing After Overlap?
Once your metal panels overlap, the width will change depending on how much of the panel is covered by the other. For example, if you’re using a panel that’s 36 inches wide and you overlap it by 2 inches, the visible width of the panel will be reduced to 34 inches.
To give you a better idea, here’s how different types of roofing overlap affect the overall width:
Standing seam panels: These often overlap just 1 to 2 inches, but because the seams are hidden and locked together, you’ll notice a seamless look with reduced visible overlap.
Corrugated or ribbed panels: These require a more significant overlap of 2 to 4 inches to ensure a watertight seal.
In general, metal roofing width after overlap can vary from 34 to 36 inches for standard panels. The precise width will depend on the overlap chosen and the panel profile, so make sure to calculate accordingly.
How to Lap Metal Roofing Properly: Step-by-Step
Now that you understand the importance of overlap, let’s go over how to properly lap metal roofing panels.
Measure and Prepare the Roof Surface
Check the roof’s pitch: Steeper roofs may need less overlap.
Inspect for damage: Make sure the existing roof surface is clean and free of debris before you start.
Measure the width of the panels: Determine the size of the panels you’ll use (typically 36 inches, but it can vary).
Install the First Row of Panels
Start by placing the first panel in position, making sure it is aligned properly with the roofline.
Ensure the panel is flat and straight across its entire length.
Attach the panel securely to the roof deck using screws or fasteners.
Start the Overlap
Position the next panel so that it overlaps the first by your desired amount (usually 2 to 4 inches).
Check that the seams are aligned perfectly.
Secure the panel in place by attaching screws along the edge of the overlap.
Repeat the Process
Continue overlapping each panel in the same manner, ensuring consistency throughout the roof.
For standing seam panels, make sure the seams lock together tightly for added waterproofing.
Final Check
Once all panels are installed, inspect the overlap to make sure the panels are secure and aligned properly.
If you’re using corrugated metal panels, be sure to check for any gaps or openings where water could seep through.
Practical Examples of Overlapping Metal Roofing
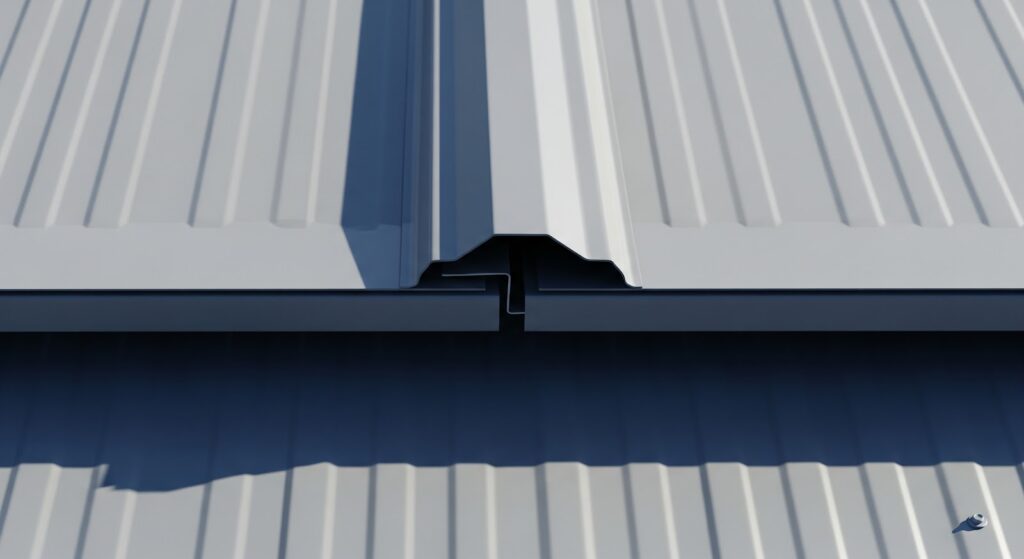
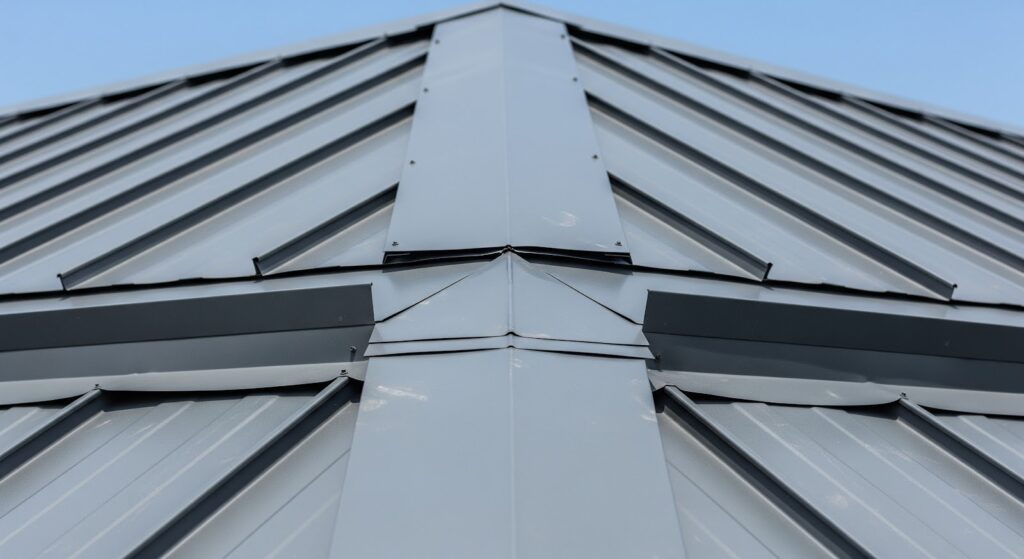
Installing a Standing Seam Metal Roof
For standing seam metal roofing, the overlap is typically minimal, but precision is key. These roofs use a snap-lock or mechanical seaming system, so the overlap between panels is much smaller than on other types of roofing. As a result, standing seam roofs offer a sleek, modern look with superior weatherproofing.
Installing Corrugated Metal Roof Panels
Corrugated metal panels require a wider overlap (around 2 to 4 inches) due to their shape and the nature of their ridged design. This overlap ensures that water doesn’t seep through the gaps between the panels, providing excellent waterproofing.
Why Does Metal Roofing Overlap Matter?
Proper metal roofing overlap is vital to the longevity and effectiveness of your roof. Here’s why:
Water Resistance: The primary function of overlap is to keep water from leaking under the panels. If the overlap is too small, you risk water infiltration, which can lead to damage inside the house.
Wind Resistance: Overlap also helps to ensure that the roof is resistant to wind damage. A well-secured overlap keeps the panels in place even during strong winds.
Durability: By following proper overlap guidelines, you increase the lifespan of your roof. It helps prevent wear and tear and ensures the panels stay securely in place.
FAQs: Overlap and Metal Roofing
Q1: How wide is metal roofing after overlap?
The width of metal roofing after overlap depends on the amount of overlap you choose. Typically, a 2-inch overlap reduces a 36-inch panel to about 34 inches in visible width.
Q2: How much should I overlap metal roofing?
The recommended overlap for metal roofing is generally 2 to 4 inches, depending on factors such as roof pitch, panel type, and local climate conditions.
Q3: Can I install metal roofing without overlap?
No. Overlap is essential for creating a waterproof seal and ensuring the longevity and stability of your metal roof. Skipping this step could result in leaks and other structural issues.