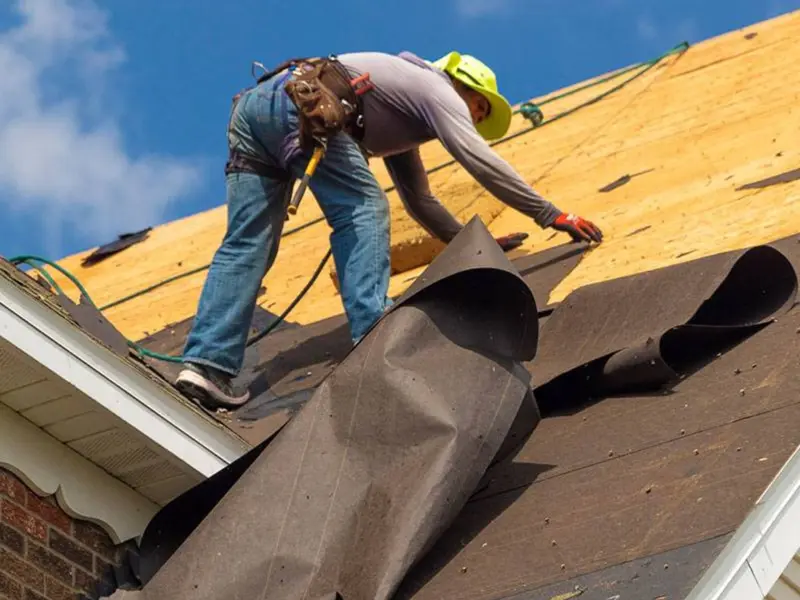
Flat roofs are a common feature on commercial buildings, modern homes, and garage additions, but they come with their own set of challenges. Unlike pitched roofs that shed water naturally, flat roofs rely on membranes, sealants, and drainage systems to stay watertight. When something goes wrong, acting quickly is essential. Water infiltration can damage insulation, rot structural decking, and lead to costly interior repairs.
This guide walks you through identifying common flat roof problems and repairing them yourself, or knowing when to call a professional.
Understanding Your Flat Roof Type
Here’s a table summarizing the different types of flat roofs and key characteristics for easy identification:
| Flat Roof Type | Description | Common Uses | Repair Methods |
|---|---|---|---|
| Built-Up Roofing (BUR) | Multiple layers of felt or fiberglass saturated with asphalt or tar, topped with gravel. | Widely used on commercial buildings. | Patching with asphalt, tar, or gravel may require heat application. |
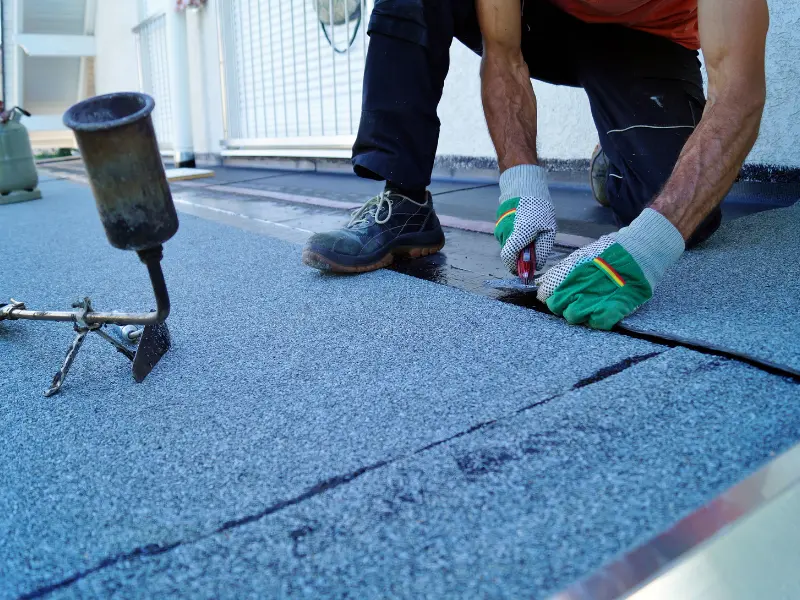
| Modified Bitumen | Rolled asphalt product reinforced with polyester or fiberglass; applied in sheets. | Common in residential buildings. | Torch down, mopped with hot asphalt, or self-adhered. |
| EPDM (Rubber Membrane) | Lightweight, durable black rubber membrane, typically available in large sheets. | Residential and commercial roofs. | Simple patching using adhesives and EPDM patches. |
| TPO (Thermoplastic Olefin) & PVC | Single-ply white membrane that is heat-welded at seams. | Popular for energy efficiency on newer roofs. | Heat welding seams, adhesive patches. |
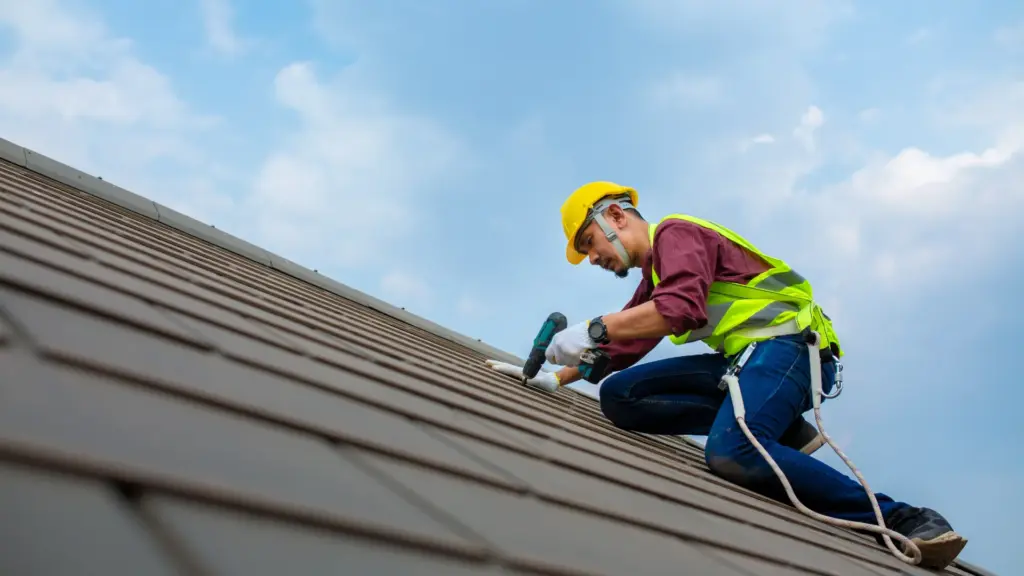
Safety First
Working on a flat roof is safer than working on a steep pitch, but it’s not without risk. Before you begin, take these precautions:
Never work on a wet roof; the surface becomes extremely slippery. Choose a dry day with no rain in the forecast. Wear rubber-soled shoes for grip, and if your roof is above one story, consider a safety harness anchored to a structural point. Keep tools and materials in a bucket or bag to avoid tripping hazards, and never work alone.
Step 1: Identify the Problem
The most common flat roof issues are blisters, cracks, ponding water, damaged flashing, and failed seams. Start by conducting a thorough inspection after a rainstorm or by running a garden hose over the surface and watching where water collects or seeps.
Blisters appear as raised bubbles in the membrane. They form when moisture or air gets trapped between layers during installation. Small blisters are often cosmetic, but large ones can crack and allow water intrusion.
Cracks and splits usually develop at seams, along flashing edges, or in areas exposed to heavy foot traffic or thermal movement. They’re a primary entry point for water.
Ponding water is water that remains on the roof surface for more than 48 hours after rain. It indicates a drainage problem and accelerates membrane deterioration.
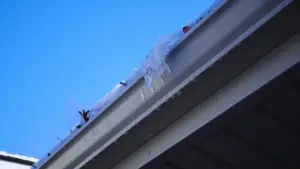
Flashing failures occur around chimneys, vents, skylights, and parapet walls where the roof material meets a vertical surface. Flashing is one of the most common sources of leaks.
Open or lifted seams happen when the adhesive or weld holding two sections of membrane together fails.
Mark problem areas with chalk or tape so you don’t lose track once you’re carrying materials around the roof.
Step 2: Clean the Repair Area
No repair will hold if the surface isn’t clean. Remove gravel, dirt, debris, and standing water from the area around the damage. Use a broom and a dry rag, then wipe the area with a solvent appropriate for your roof type: mineral spirits for BUR and modified bitumen, or a dedicated EPDM cleaner for rubber membranes. Allow the surface to dry completely before applying any repair material.
Step 3: Make the Repair
Repairing Blisters
Cut the blister open in an X pattern using a utility knife, cutting just through the membrane and not into the layers below. Peel back the flaps and allow the area to dry thoroughly. This may take several hours in warm weather. Once dry, apply roofing cement under each flap and press it firmly down.
Smooth out any air pockets, then apply a patch of matching membrane material over the top, feathering the edges with additional roofing cement. Weigh the patch down with a heavy object for several hours.
Fixing Cracks and Splits
Clean the cracked area, then fill the crack with roofing cement or a compatible sealant, pressing it into the gap with a putty knife. Cut a patch from matching membrane material, extending at least 6 inches beyond the crack in all directions. Embed the patch in a fresh coat of roofing cement, pressing firmly from the center outward to avoid air pockets. Apply a thin topcoat of cement over the patch edges and smooth them flat.
Repairing EPDM Rubber Roofs
EPDM repairs use a self-adhesive EPDM patch kit. Clean the area with EPDM primer and allow it to tack up (usually 5–10 minutes). Peel the backing from the patch and apply it over the damage, pressing firmly from the center outward. Roll the patch with a hand roller to ensure full adhesion, paying extra attention to the edges. Seam tape can be used for linear cracks before applying the patch for additional security.
Resealing Flashing
Flashing repairs are among the most important because flashing failures account for a large percentage of flat roof leaks. Remove any old, cracked sealant with a putty knife and a wire brush. Clean the metal and the surrounding membrane thoroughly. Apply a generous bead of polyurethane or butyl-based flashing sealant along all edges where the flashing meets the membrane or wall. Smooth it with a wet finger or putty knife and allow it to cure fully before exposing it to rain.
Addressing Ponding Water
If water is ponding, the underlying cause is usually a sagging deck, insufficient slope, or a blocked drain. Clear the drain or scupper of any debris first; this is often enough to solve the problem. If the deck itself has sagged, you may need to add tapered insulation beneath the membrane to redirect water toward the drain. This type of repair typically requires professional assessment.
Step 4: Apply a Reflective Coating (Optional but Recommended)
Once your repairs are complete, consider applying a reflective elastomeric roof coating over the entire roof surface. These coatings seal small imperfections, reflect UV radiation, and extend the life of the membrane significantly. They’re especially valuable on older roofs that are beginning to show their age. Apply the coating with a paint roller on a warm, dry day, following the manufacturer’s instructions for coverage and drying time.
Step 5: Test the Repair
After the sealant or cement has fully cured (usually 24–72 hours, depending on conditions), test the repair with a garden hose. Run water directly over the repaired area and watch for any signs of leakage inside the building or seepage under the patch. If everything holds, you’re done.
When to Call a Professional
DIY repairs are appropriate for isolated blisters, small cracks, and minor flashing issues. However, there are situations where professional help is the wiser choice. If more than 25% of your roof surface shows signs of damage, a full replacement is likely more cost-effective than patching. Structural deck rot, widespread ponding, or a membrane that has become brittle and is cracking in multiple places all indicate that the roof has reached the end of its useful life. In these cases, a licensed roofing contractor should assess the situation and recommend the appropriate course of action.
Maintenance Tips to Prevent Future Problems
The best flat roof repair is the one you never have to make. Inspect your roof at least twice a year in spring and fall, and after any major storm. Keep drains and scuppers clear of leaves and debris. Avoid walking on the roof unnecessarily, and never store heavy equipment on the membrane. Address small cracks and loose flashing immediately before they develop into larger leaks.
A well-maintained flat roof can last 20 to 30 years, depending on the material. A neglected one can fail in half that time. With a little attention and timely repairs, yours will stay watertight for years to come.
Final Thoughts
Fixing a flat roof can seem like a daunting task, but with the right knowledge and approach, many issues can be addressed effectively without the need for professional help. Whether you’re dealing with blisters, cracks, ponding water, or damaged flashing, understanding your roof type and using the correct repair methods is key to ensuring a long-lasting, watertight solution. Regular maintenance and early intervention can significantly extend the life of your flat roof, saving you from costly repairs or premature replacements down the line.
FAQs
1. How do I fix a leaking flat roof?
To fix a leaking flat roof, identify the source of the leak, clean the area, and apply a patch or sealant depending on the type of damage.
2. How long do flat roof repairs last?
Repairs can last from several years to decades, depending on the roof material and the extent of the damage.
3. Can I fix ponding on a flat roof myself?
If ponding is caused by debris in the drain, clearing it might solve the problem. For sagging decks or poor slope, professional help is recommended.
4. How do I fix a roof leak on a flat roof?
Find the leak, clean the area, apply the appropriate sealant or patch, and check for any water ingress after the repair.
5. How much does it cost to fix a flat roof?
The cost depends on the extent of the damage and the materials needed, but can range from $300 to $2,000 for minor repairs.