My phone rang on a Tuesday evening.
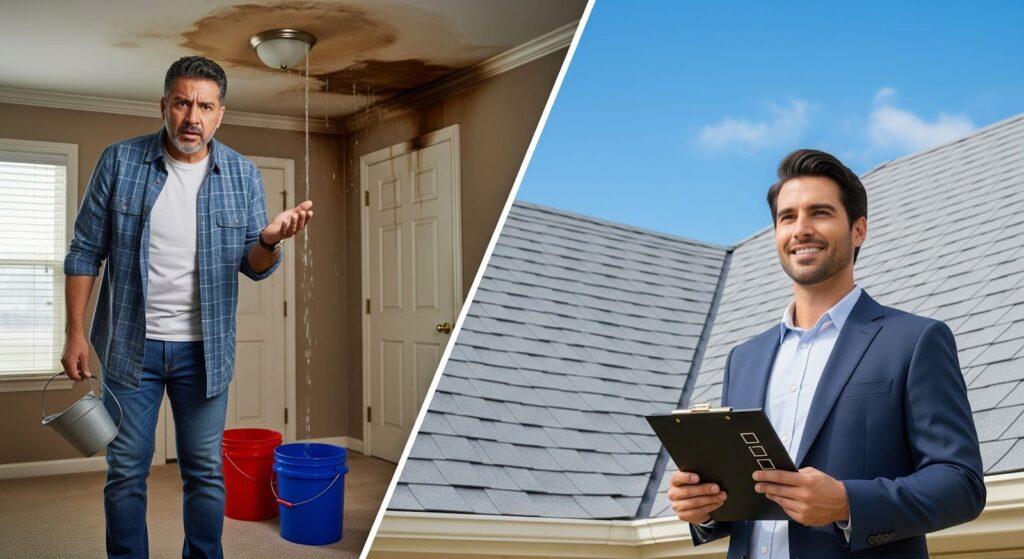
“My brand new roof is leaking into my kitchen,” Sarah said frantically. “The roofers finished yesterday. How is this possible?”
I’ve helped hundreds of homeowners deal with similar situations over my years in roofing consulting.
Here’s the thing… Sarah paid good money for her new roof. But she never checked these critical things after new roof installation. Now she’s facing expensive water damage repairs.
Don’t be Sarah.
The Truth About “Finished” Roofing Jobs
Stop. Before you write that final check to your roofer, know this:
Many roofing contractors rush through final details. They assume homeowners won’t check. Some bank on it.
I’ve inspected countless “completed” new roof installations. Common problems I find:
- Improper flashing around chimneys and vents
- Missing sealant applications
- Debris left in gutters causing immediate backup
- Installation mistakes that lead to premature failure
The industry doesn’t always highlight what to check after having a new roof installed. But I’m about to tell you everything.
The Essential Things Every Homeowner Must Check
1. The Flashing Inspection (Critical for Leak Prevention)
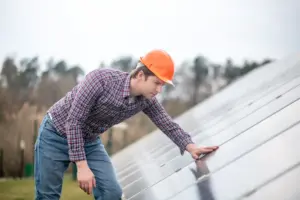
Walk around your house. Look where your roof meets walls, chimneys, and vents.
See gaps? You could have problems.
Proper flashing should be sealed around roof penetrations like chimneys, vents, and skylights with no visible gaps. I once found a contractor who used inadequate flashing material. The homeowner discovered it during a costly water damage incident.
What to look for:
- Metal flashing extends properly up walls
- No gaps between flashing and roofing material
- Flashing overlaps correctly
- No rust or loose sections
Before/after comparison showing improper flashing with visible gaps versus properly installed

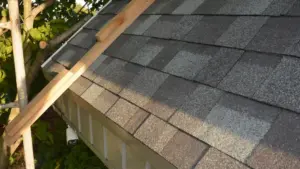
2. The Shingle Installation Check
This sounds basic, but installation mistakes happen.
Stand at your curb. Look up. Shingles should be uniform and aligned with consistent spacing, with no missing or loose pieces. All materials should be properly sealed to prevent wind damage.
Look for curling, buckling, or obvious misalignment.
3. The Gutter and Drainage Inspection
Your gutters should be spotless after installation.
But here’s what I commonly find in completed jobs:
- Shingle granules (clogs downspouts)
- Nail fragments
- Old roofing material chunks
- Construction debris
Clean gutters and proper water flow are essential – water should flow freely through downspouts and away from your home.
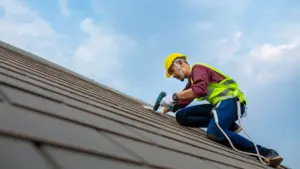
4. The Vent and Penetration Check
Every pipe coming through your roof needs proper sealing.
Look carefully around each roof penetration. Check that vents, chimneys, and skylights have properly sealed flashing with no gaps.
Quality sealing prevents water infiltration that can cause significant interior damage.
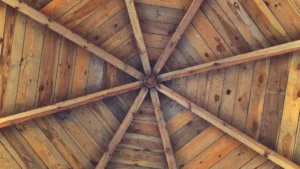
5. The Attic Aftermath Assessment
Here’s what many homeowners never check: their attic after installation.
Grab a flashlight. Climb up there safely.
Warning signs:
- Sunlight visible through roof boards
- Wet or damp insulation
- Poor ventilation setup
- Construction debris left behind
Proper attic ventilation extends your roof’s lifespan and improves energy efficiency, while poor ventilation can cause moisture buildup and mold.

6. The Nail and Debris Safety Check
Every construction site should be thoroughly cleaned.
Walk around your property to check for stray nails, shingles, or metal pieces, and use a magnetic sweeper to locate hidden nails in grass or driveways.
Professional crews clean up completely. Others leave hazards behind.
7. The Interior Damage Assessment
Roof problems don’t always appear immediately on the outside – check inside your home for water stains on ceilings or walls, peeling paint, or musty odors.
Interior issues could indicate leaks or ventilation problems that need immediate attention.
When and How to Make Final Payment
Never pay final payment until you’ve checked everything on this list.
Professional roofers expect this inspection. Quality contractors welcome it.
Here’s a recommended payment approach:
- Small deposit to start
- Progress payments during installation
- Final payment only after YOUR complete inspection
Holding back final payment gives you leverage to address any problems discovered during inspection.
Real Success Stories From This Checklist
Jennifer: Found missing flashing before the first rain. Contractor fixed it at no charge, preventing potential water damage.
Mike: Discovered multiple unsealed penetrations during inspection. Contractor sealed them free rather than lose final payment. Prevented future leaks.
Lisa: Caught installation defects during walkthrough. Full correction at contractor’s expense instead of dealing with problems later.
The pattern? Homeowners who inspect thoroughly avoid future problems and expensive repairs.

Your Next Steps (Do This Today)
Step 1: Print this checklist (yes, actually print it)
Step 2: Schedule your inspection for tomorrow if your roof was just completed
Step 3: Take photos of everything you find – problems and perfection
Step 4: Document any issues in writing before calling your contractor
Step 5: Don’t make final payment until everything passes your inspection
Bonus: Share this with neighbors getting roof work done. They’ll thank you when they avoid Sarah’s nightmare.
For more detailed inspection techniques, check out our comprehensive residential roof inspection guide that covers advanced problem detection methods.
The National Roofing Contractors Association also provides additional resources for homeowners to understand quality installation standards.
Quick Answers to Your Burning Questions
Q: What if I find problems during my inspection?
A: Document with photos first. Call your contractor immediately. Reputable contractors will return to fix issues at no charge during the warranty period.
Q: Should I hire a professional inspector instead?
A: For expensive roof installations, professional inspection can be valuable. But you should still do this basic check first as the homeowner.
Q: What happens if my contractor refuses to fix problems I found?
A: This is why you hold back final payment until satisfied. Most contractors will address legitimate concerns rather than lose payment.
Q: How do I know if the problems I found are serious?
A: Any potential water penetration issue should be addressed immediately. When in doubt, consult with a roofing professional for a second opinion.
Q: Can I do this inspection if I’m afraid of heights?
A: Yes. Use binoculars for roof surface inspection from the ground. Focus on ground-level checks around the house perimeter and safe attic access.
Q: What if it rains before I can inspect?
A: Rain actually helps reveal problems quickly. Check for leaks immediately after rainfall, then do your full inspection when conditions are safe.
Q: How long should I wait after installation to do this inspection?
A: Same day if weather and safety permit. Within 24-48 hours maximum while the crew may still be available for corrections.
Remember: Your roof protects your family and biggest investment. Taking time to check these details after installation helps ensure years of reliable protection and peace of mind.